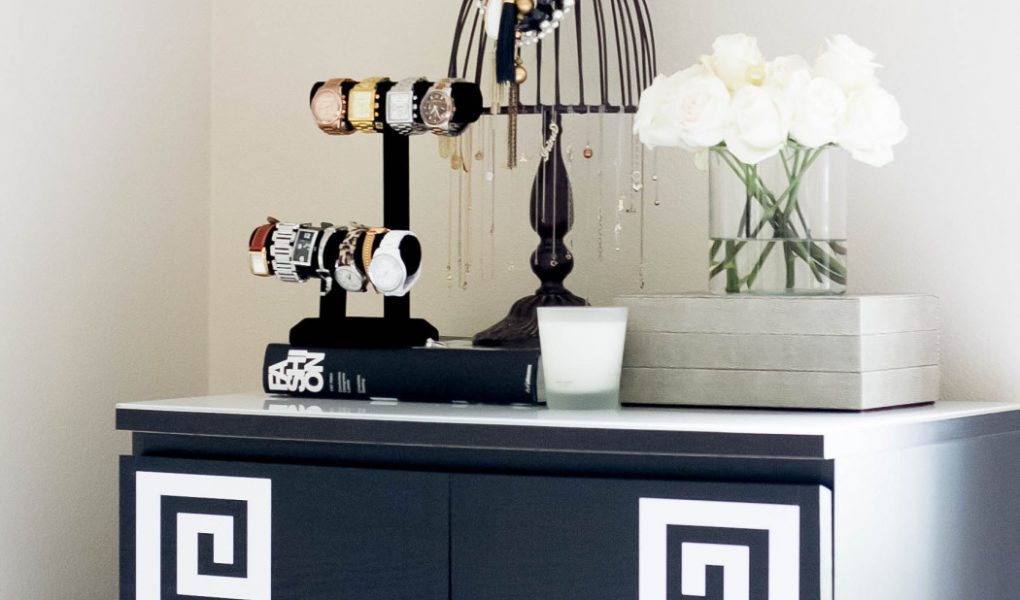
The classic Hollywood Regency style made popular in the 1930’s is very reminiscent of Greek key fretwork. I’ve always had a thing for the Greek key motif − a decorative border made from a continuous line.
My 6-drawer black Ikea Malm dresser had served its utilitarian purpose for the past 4 years, and I wanted to spice things up. Browsing Etsy one evening, I came across a store that made stick-on wall decals in the Greek key design. I messaged them, and voilà − they were able to make a custom listing for me! I worked with them on some different Greek key options and finally decided on a pretty simple design, since Greek key in and of itself is quite a statement.
As always, be sure to follow Bond Girl Glam on Bloglovin’ for future posts like this.
Here were some of our options:

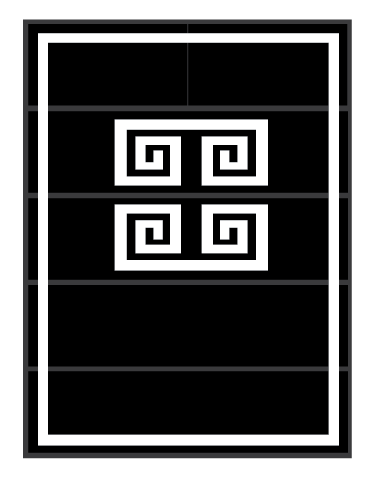
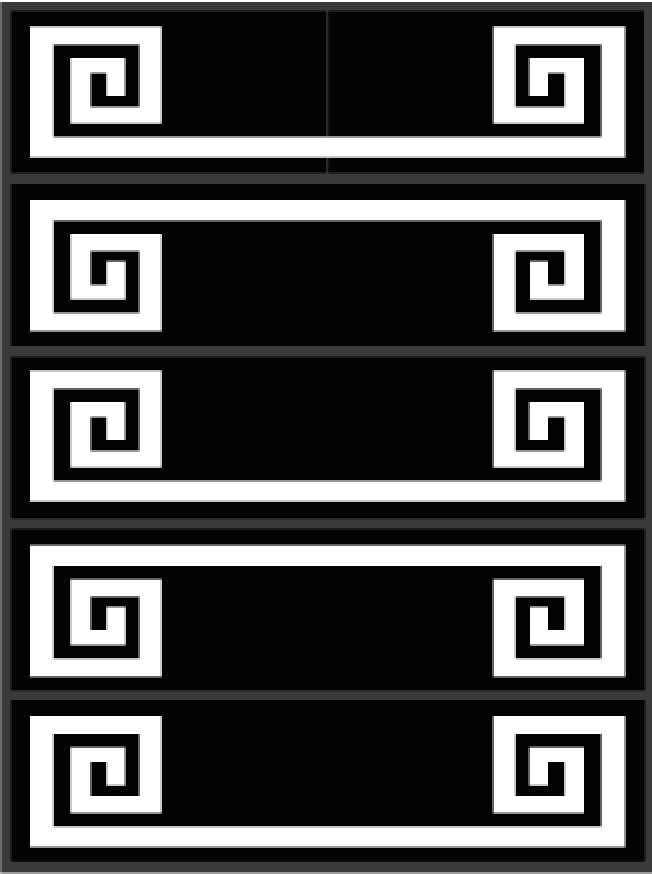
This was the option I went with.
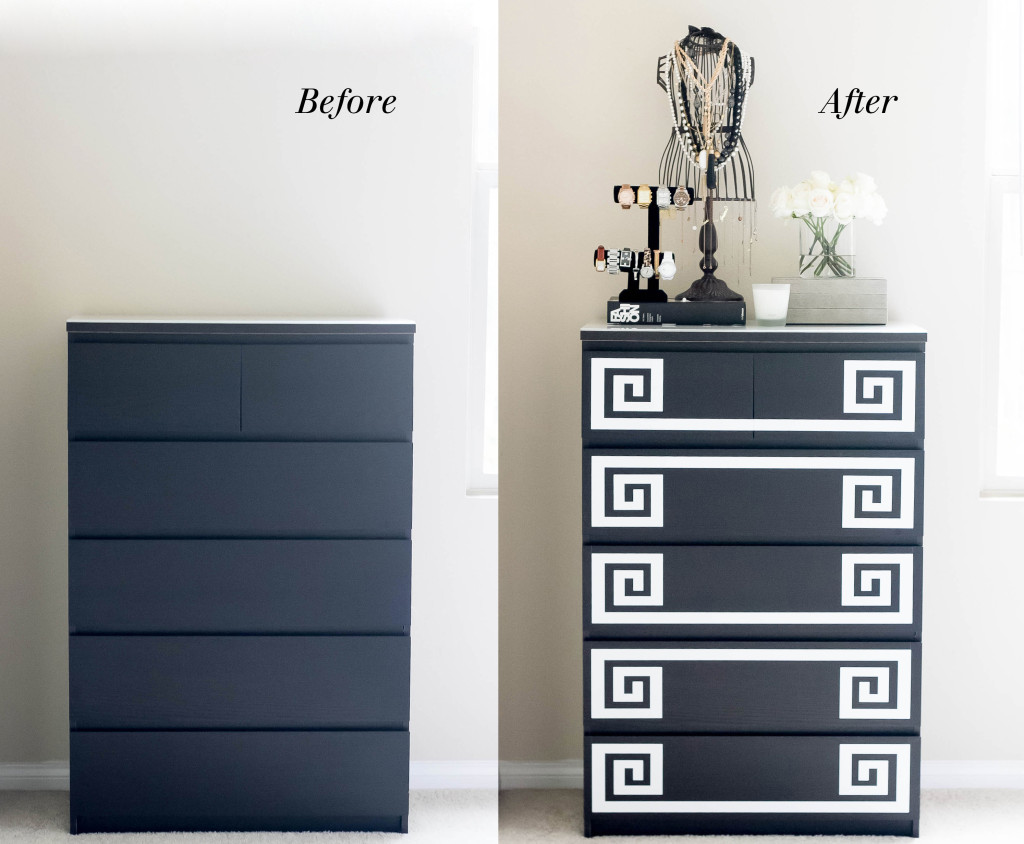
A before & after side-by-side.
You can order your own set just like this one for the 6-drawer Ikea Malm dresser for $36 plus shipping at Lulukuku too. They’ve also been so sweet as to offer Bond Girl Glam readers a 10% off coupon code at their store using code THANKS10.
How To:
1. Wipe down the dresser with Windex and paper towels (or a microfiber cloth).
2. Remove the blue backing off one Greek key decal.
3. Apply it evenly while gently pressing just the corners on the drawer second from the top (the first one without a break in between). Step back to make sure it’s aligned properly on all 4 sides.
4. Use the side of your hand to gently press down the decal once it’s aligned properly, starting from one side and moving to the other to avoid bubbling. If something isn’t perfect, it’s pretty easy to adjust it before you seal the deal.
5. Remove the clear layer. Sometimes it removes the decal with it, so work with it a few times to make sure the decal stays on the dresser and not on the clear plastic.
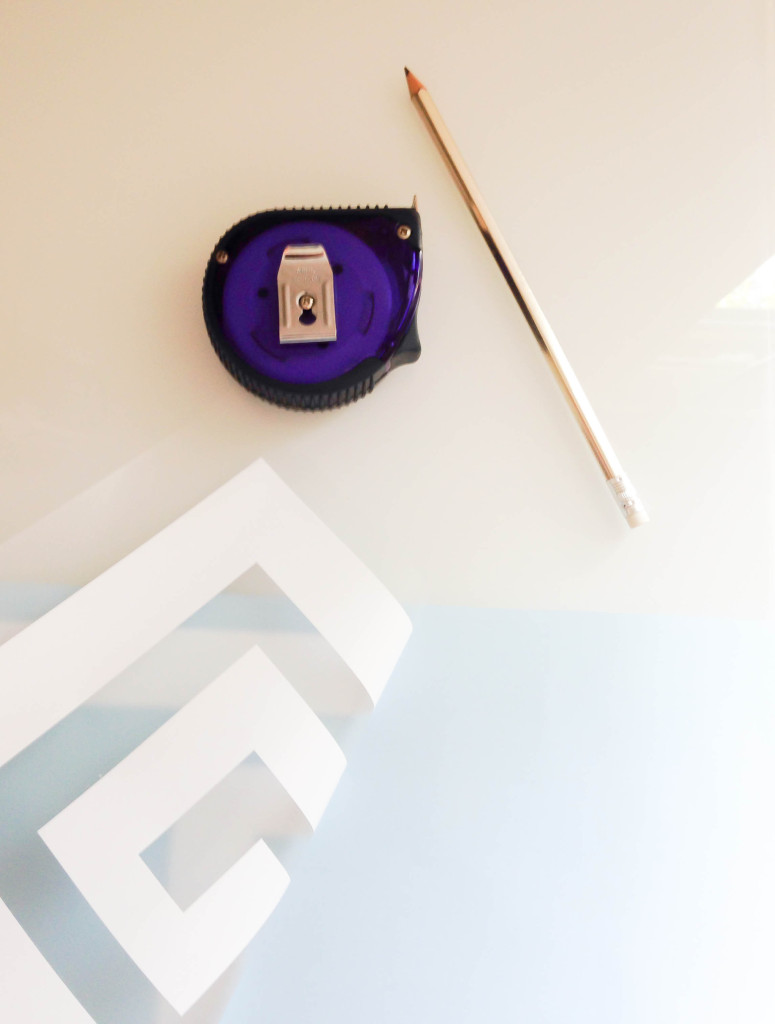
6. Measure this first application done free-handedly, and apply the measurements to all the rest of the drawers using a pencil.
7. Repeat for all the rest of the drawers. The top drawer is probably best done last; carefully cut it in the middle so that the top little drawers can open.
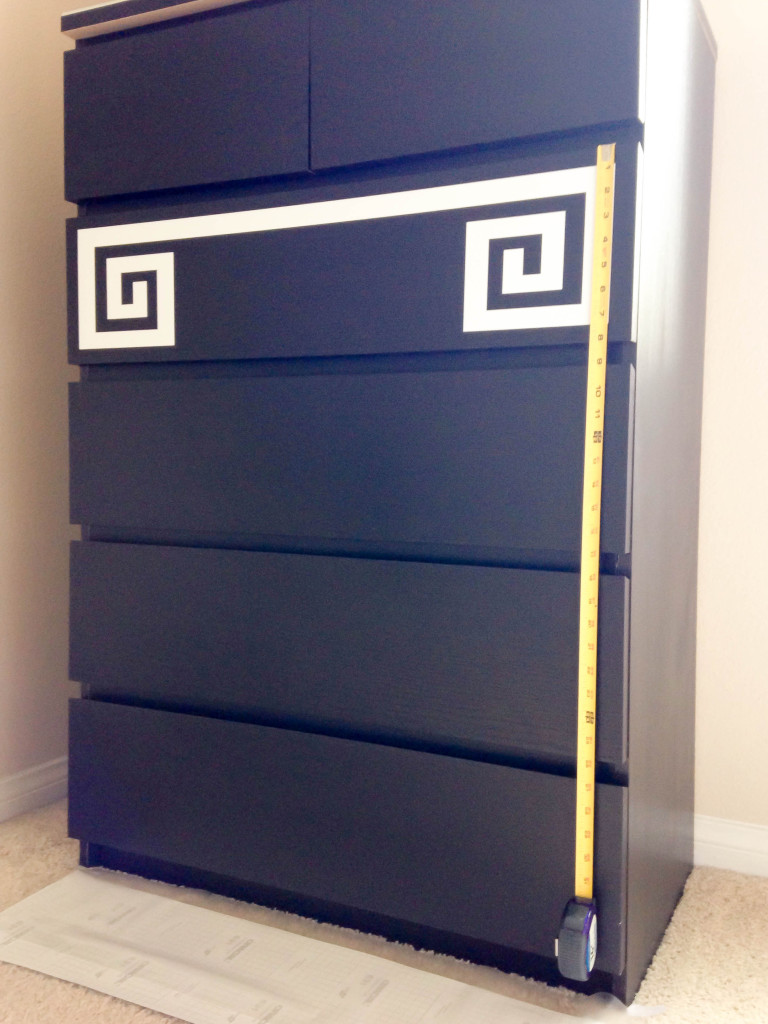
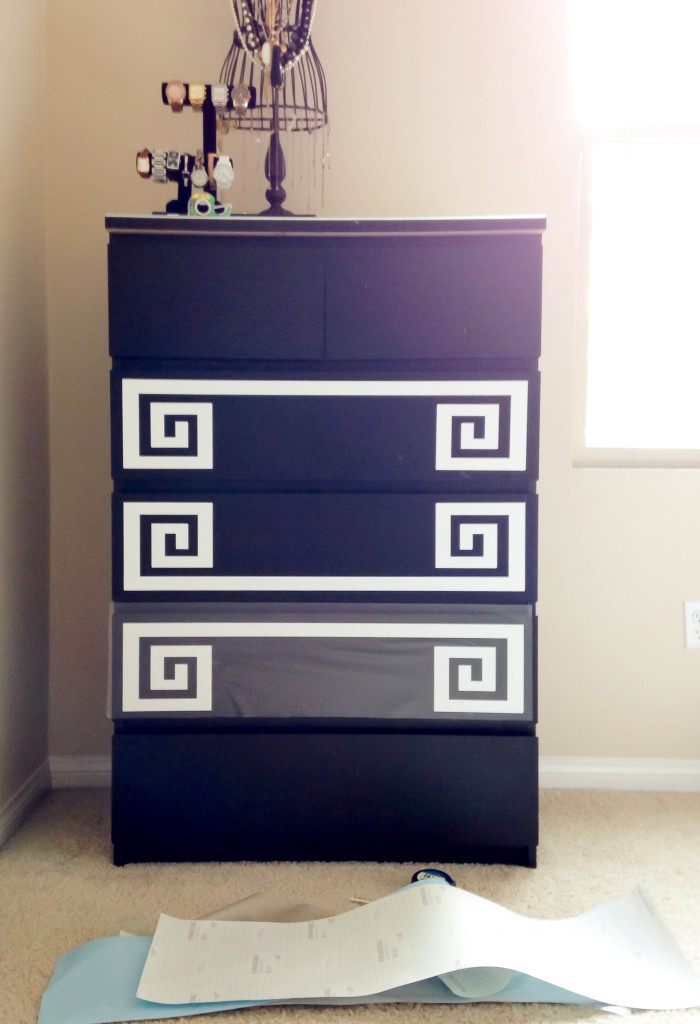
And the finished product…
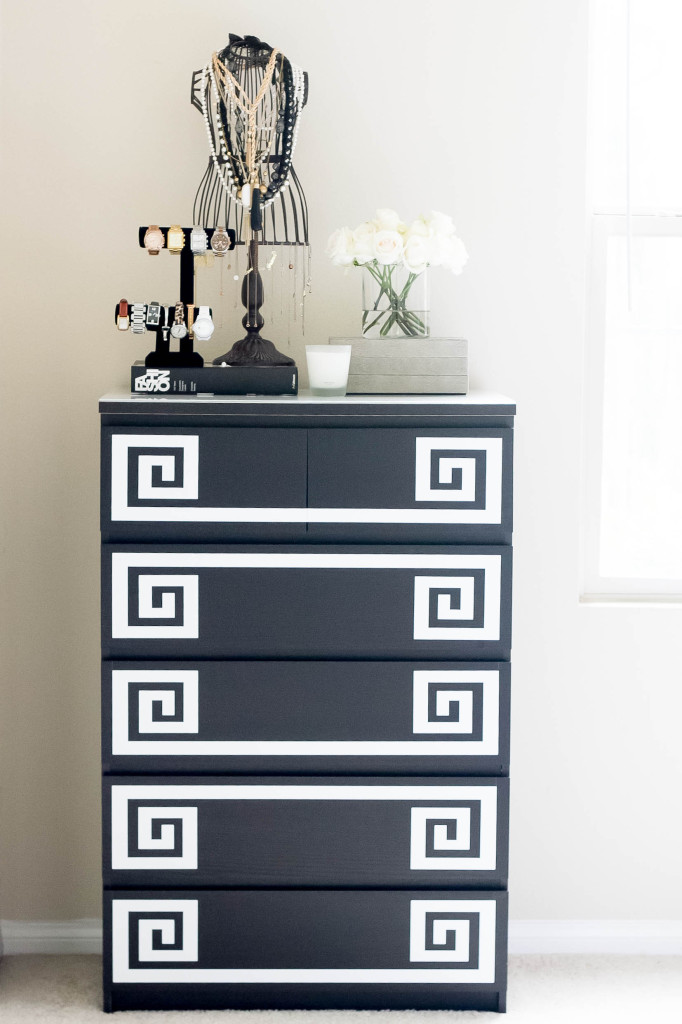
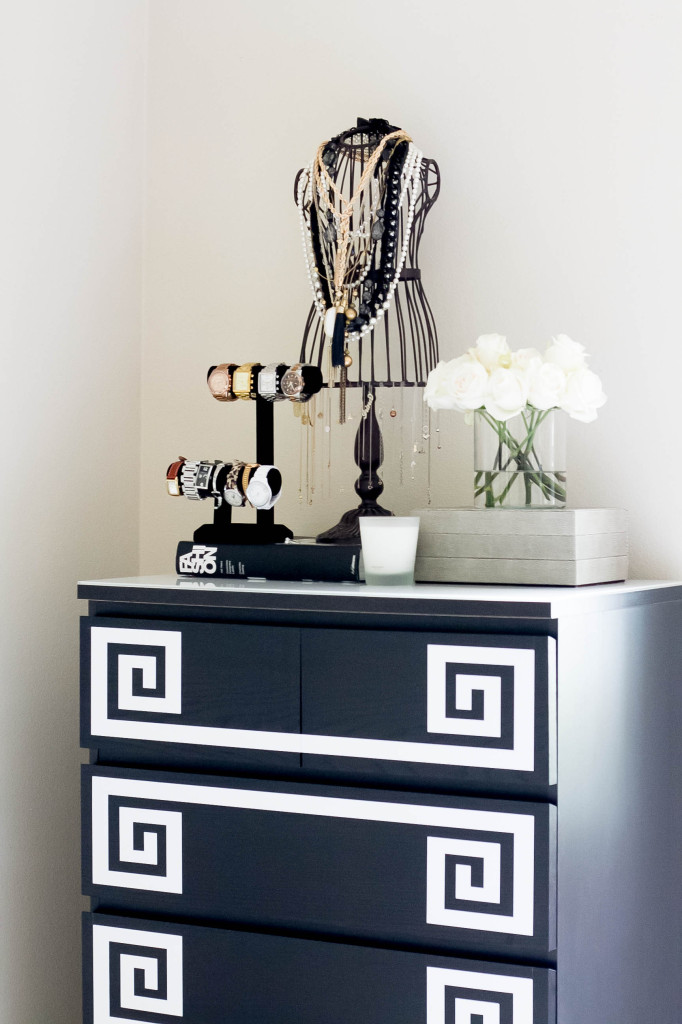
I hope you liked my first Ikea hack and that it inspires you to get your DIY on.
Shop My Dresser Top:
